
Most of a wall is the part you never see. Once the drywall goes up, the layers that actually decide how warm, dry and durable a house is are sealed inside forever — so we shot a quick walk-through of one on a recent addition, before it disappeared behind the finishes.
It’s a couple of minutes. Below it, what each layer is doing and why we bother.
The wall, outside in
- Stone + rainscreen — the exterior finish takes the brunt of the abuse off the rest of the assembly: UV, rain, hail, freeze-thaw, wind, physical knocks and animals. It’s held off the wall by an inch to create a vented rainscreen gap, so water can drain and airflow helps the assembly dry.
- Exterior mineral wool board — a continuous layer of Rockwool Comfortboard outside the sheathing. It wraps the framing in insulation with no thermal bridges, protects and extends the life of the WRB, and it’s happy getting wet and drying out.
- WRB — the water- and air-control membrane on the sheathing. It keeps bulk water out and stops drafts moving through the wall, while still letting excess moisture escape.
- Sheathing — 3/4″ plywood for long-term durability, racking strength, permeability, and the ability to fasten almost anything to it.
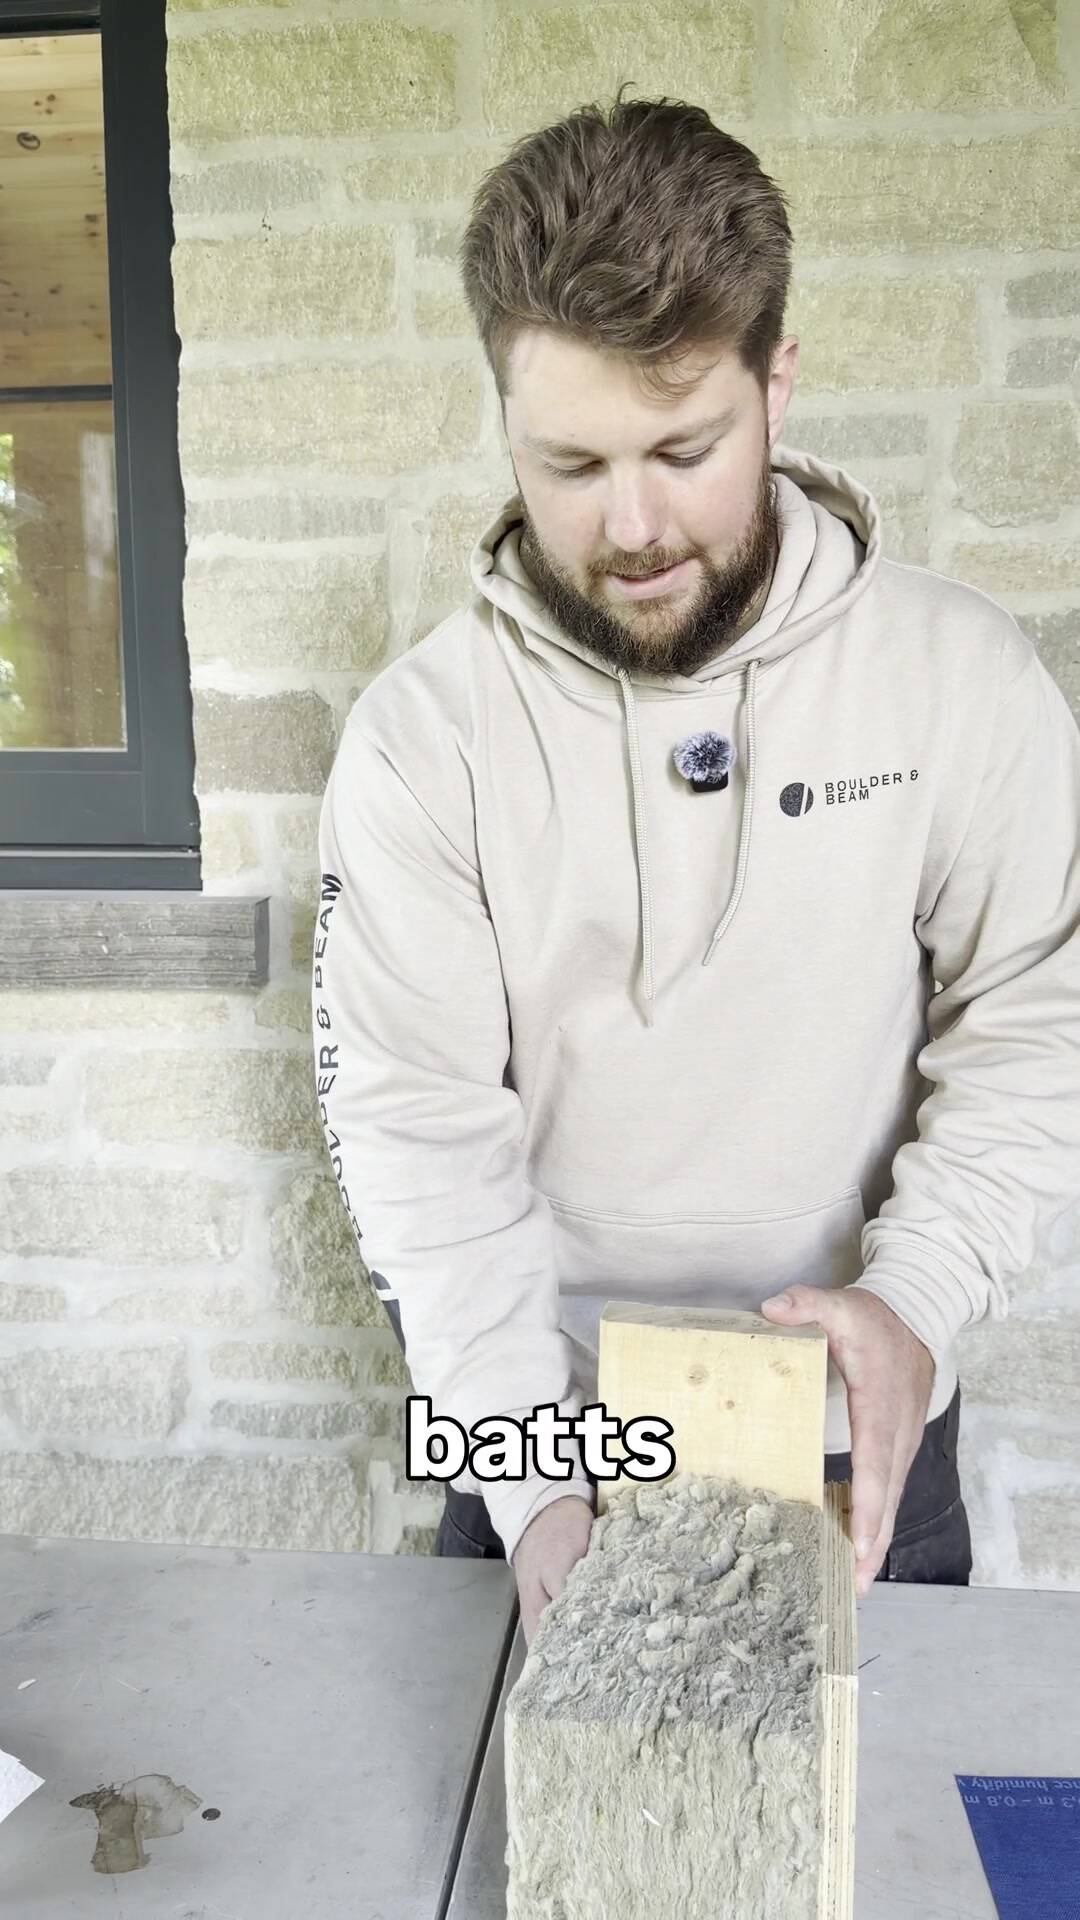
- Mineral wool batts in the stud cavity — Rockwool Comfortbatt (R-24): more insulation, plus fireproof and sound-resistant.
- Smart vapour membrane on the warm side — Intello Plus seals the air barrier from the inside and still lets the wall dry inward during A/C season if it needs to.
- Interior finish — 3/4″ solid milled pine shiplap for long-term durability and mould resistance, painted with low-VOC paint for the look you want.
Why build it this way
A code-minimum wall keeps the rain out and hits an insulation number. This does more, and it comes down to three jobs a wall has to do at once: keep water out, stop air from leaking through it, and slow heat from escaping. Get all three continuous — no gaps, no weak spots where one layer stops before the next takes over — and you get a house that’s warmer, quieter, cheaper to heat, and far less likely to grow mould inside the wall where you’d never catch it. That’s the whole idea behind our air, water and thermal approach, and we build every wall to it — on a new addition like this one, or when we re-clad an existing house.
Putting mineral wool outside the framing keeps the studs warm, which keeps them dry — the cold, condensation-prone surface moves out past the wood to a material that doesn’t care if it gets damp. Combine that with a rainscreen gap behind the cladding and a wall that can dry in both directions, and you’ve built something that still performs in thirty years, not just on the day it passed inspection.
The test we use: on a drawing of any wall, you should be able to trace the water layer, the air layer and the insulation all the way around the building without lifting your pen. Every place you’d have to lift it is a place a wall eventually fails. That’s what all these layers are really for.
Thinking about a build or a re-clad?
If you’re planning an addition or finally dealing with a wall that’s always cold or damp, this is the level of detail we bring to it. Have a look at what we cover on the Air / Water / Thermal page, or the products and building-science reading we’d hand you on our Homeowner Resources page.
Want a wall built like this?
Book a free, no-pressure assessment. We’ll look at your project, tell you straight what it needs, and put the scope and price in writing.